Sub-Zero Door Seal (Gasket) Installation Instructions
A properly seated Sub-Zero door gasket is what keeps cold air in, moisture out, and prevents heavy frost or “warm temp” complaints. These steps apply to many Sub-Zero platforms (Classic/BI/CL, 600/700, Designer columns/drawers, etc.), even if your exact model looks a little different.
Before you start (quick checklist)
- Unplug / power off if you’ll be removing doors, liners, or working around wiring.
- Have a flashlight, mild soap + warm water, and a clean towel.
- A hair dryer can help fix shipping bends, but use low heat and keep it moving.
Step-by-step installation
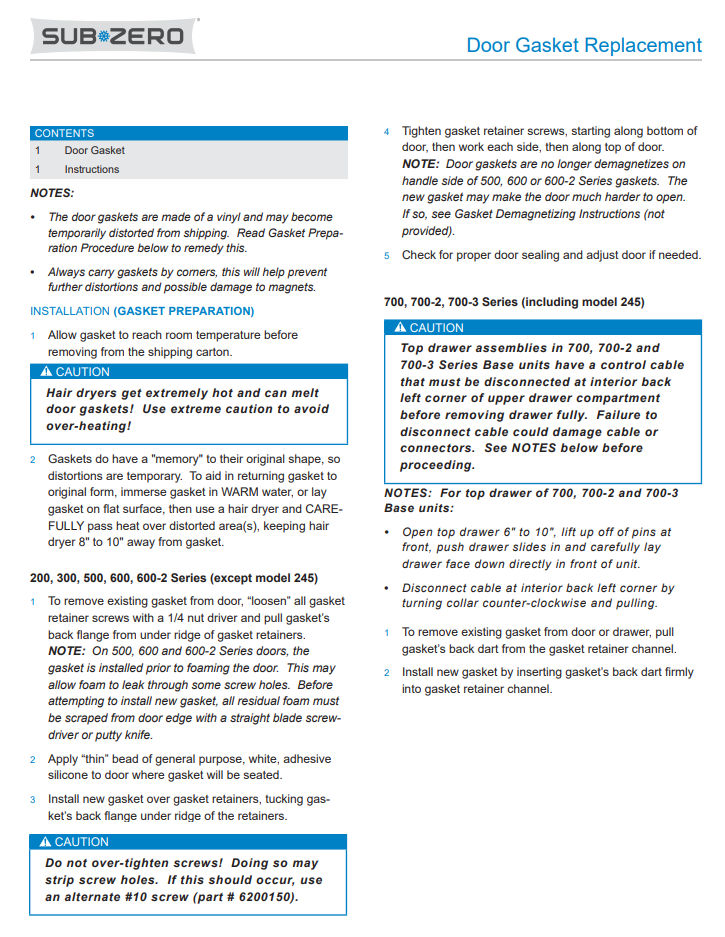
1) Prep the new gasket (important)
- Remove the gasket from the box and lay it flat on the floor fully extended (as if it’s already on the door).
- Let it reach room temperature before installing. Cold vinyl fights you and won’t seat well.
- Fixing shipping distortions: Use a blow dryer on low, about 5–7 inches away. Keep the dryer moving. If you’re worried about overheating, put a sheet of paper between the dryer and the seal. Warm the bent area and shape it gently by hand.
- Alternative: Submerge the gasket in warm water for ~30 minutes to help it relax.
- Break-in period: It can take a couple weeks for the gasket to “learn” the door shape. A very thin wipe of Vaseline or a dusting of baby powder on stubborn hinge-side corners can help the seal glide and settle.
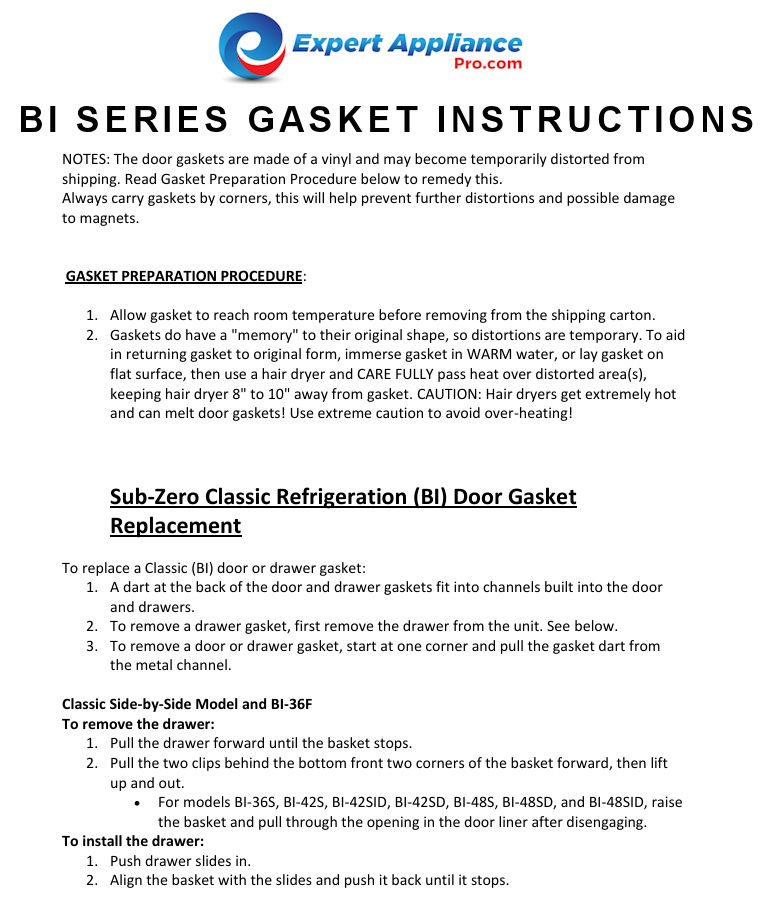
2) Remove the old gasket
- Start at a corner.
- Gently pull the “dart” (the back edge of the gasket) out of the door channel.
- Work around the door with steady pressure until the gasket is fully removed.
3) Clean the door channel
- Wipe the channel with warm soapy water to remove residue, crumbs, grease, and old buildup.
- Dry the channel completely before installing the new gasket.
4) Install the new gasket
- Start at a corner and press the gasket “dart” into the channel.
- Work around the door, pushing the dart fully into the channel.
- Do corners first — once corners are seated correctly, the rest usually follows easier.
- If a section keeps popping out, warm that section slightly (low heat) and re-seat it.
- CAUTION: Too much heat can melt or warp the gasket. Keep the dryer moving and never park it in one spot.
5) Final checks (this is what techs do)
- Visual check: Look for gaps at the hinge-side corners and the top corners (most common leak points).
- Door alignment matters: If the door is sagging, a perfect gasket still won’t seal perfectly.
Important note on leaks, ice buildup, and swollen insulation
If you had water leakage before replacing the seal, or you see ice buildup on the door or liner, it usually means the old seal leaked for a long time. Moisture can soak into the door/liner insulation, making it heavy and swollen. That swelling can prevent the new gasket from seating tightly or can cause it to pop out.
What to do (practical options):
- Best easy method: Power the unit off and leave the door open for about one week to dry the insulation.
- Advanced method: Remove the door, remove the liner, and carefully dry the insulation using low heat + airflow.
- Important: Original door/cabinet liner insulation is not available on many models. If insulation needs replacement, aftermarket insulation from a hardware store is sometimes used (model dependent).
- If the liner has bowed from years of leaking, the new gasket may never stay in place. In that case, replacing the liner may be the only true fix. Contact us to check availability of a replacement liner for your model.
Sub-Zero Door Seal Installation Videos
These videos provide a general idea of how Sub-Zero door gaskets are installed. This applies to other models not shown in the videos.
- Sub Zero Door Seal Installation – Video 1
- Sub Zero Door Seal Installation – Video 2
- Sub-Zero Door Seal Installation – Video 3
- Sub-Zero Door Seal Installation – Video 4
- Sub-Zero Door Seal Installation – Video 5
Sub Zero Door Gasket Instructions Sheet
These directions can apply to other models not listed.
Common Sub-Zero parts people replace when seals are leaking
These are the most commonly replaced Sub-Zero parts we see across units. A bad gasket often shows up together with airflow, frost, or ice maker issues. If you’re unsure what matches your exact model/revision, we’ll confirm the correct OEM part before shipment.
Seals, airflow & cooling performance
- Door gaskets / door seals
- Airflow parts (fans, fan blades)
- Evaporator fan motors / condenser fan motors
- Ice maker system parts
- Ice maker components (including ice maker control arms)
- Ice buckets, bins, and related hardware
Defrost & temperature sensing
- Defrost heaters
- Thermistors (temperature sensors)
- Defrost thermostats / terminators
- Defrost timers (where used)
Controls & electronics
- Control boards & display/control panels
- Relays
- Inverter boards (where used)
- Overloads & capacitors (where used)
- Cold controls / thermostats (model-specific)
- Dispenser touch pads (model-specific)
Water & filtration
- Water filters
- Air purifier filters
Lighting & door hardware
- Lights / LED modules (model-specific)
- Handles (model-specific)
Shelves & storage (cosmetic)
- Shelves, door shelves, condiment shelves
- Racks, baskets
- Crisper and deli drawers
- Kickplates
Sealed system components (advanced)
- Compressors
- Evaporator coils
- Heat exchangers
Informational only. For model-specific procedures, consult Sub-Zero documentation or a qualified technician.